Getting Started
First Launch
When you open Drivest for the first time, the app will ask you to add your first vehicle. All data is stored locally on your device — there is no account to create and nothing to sign up for.
Adding a Vehicle
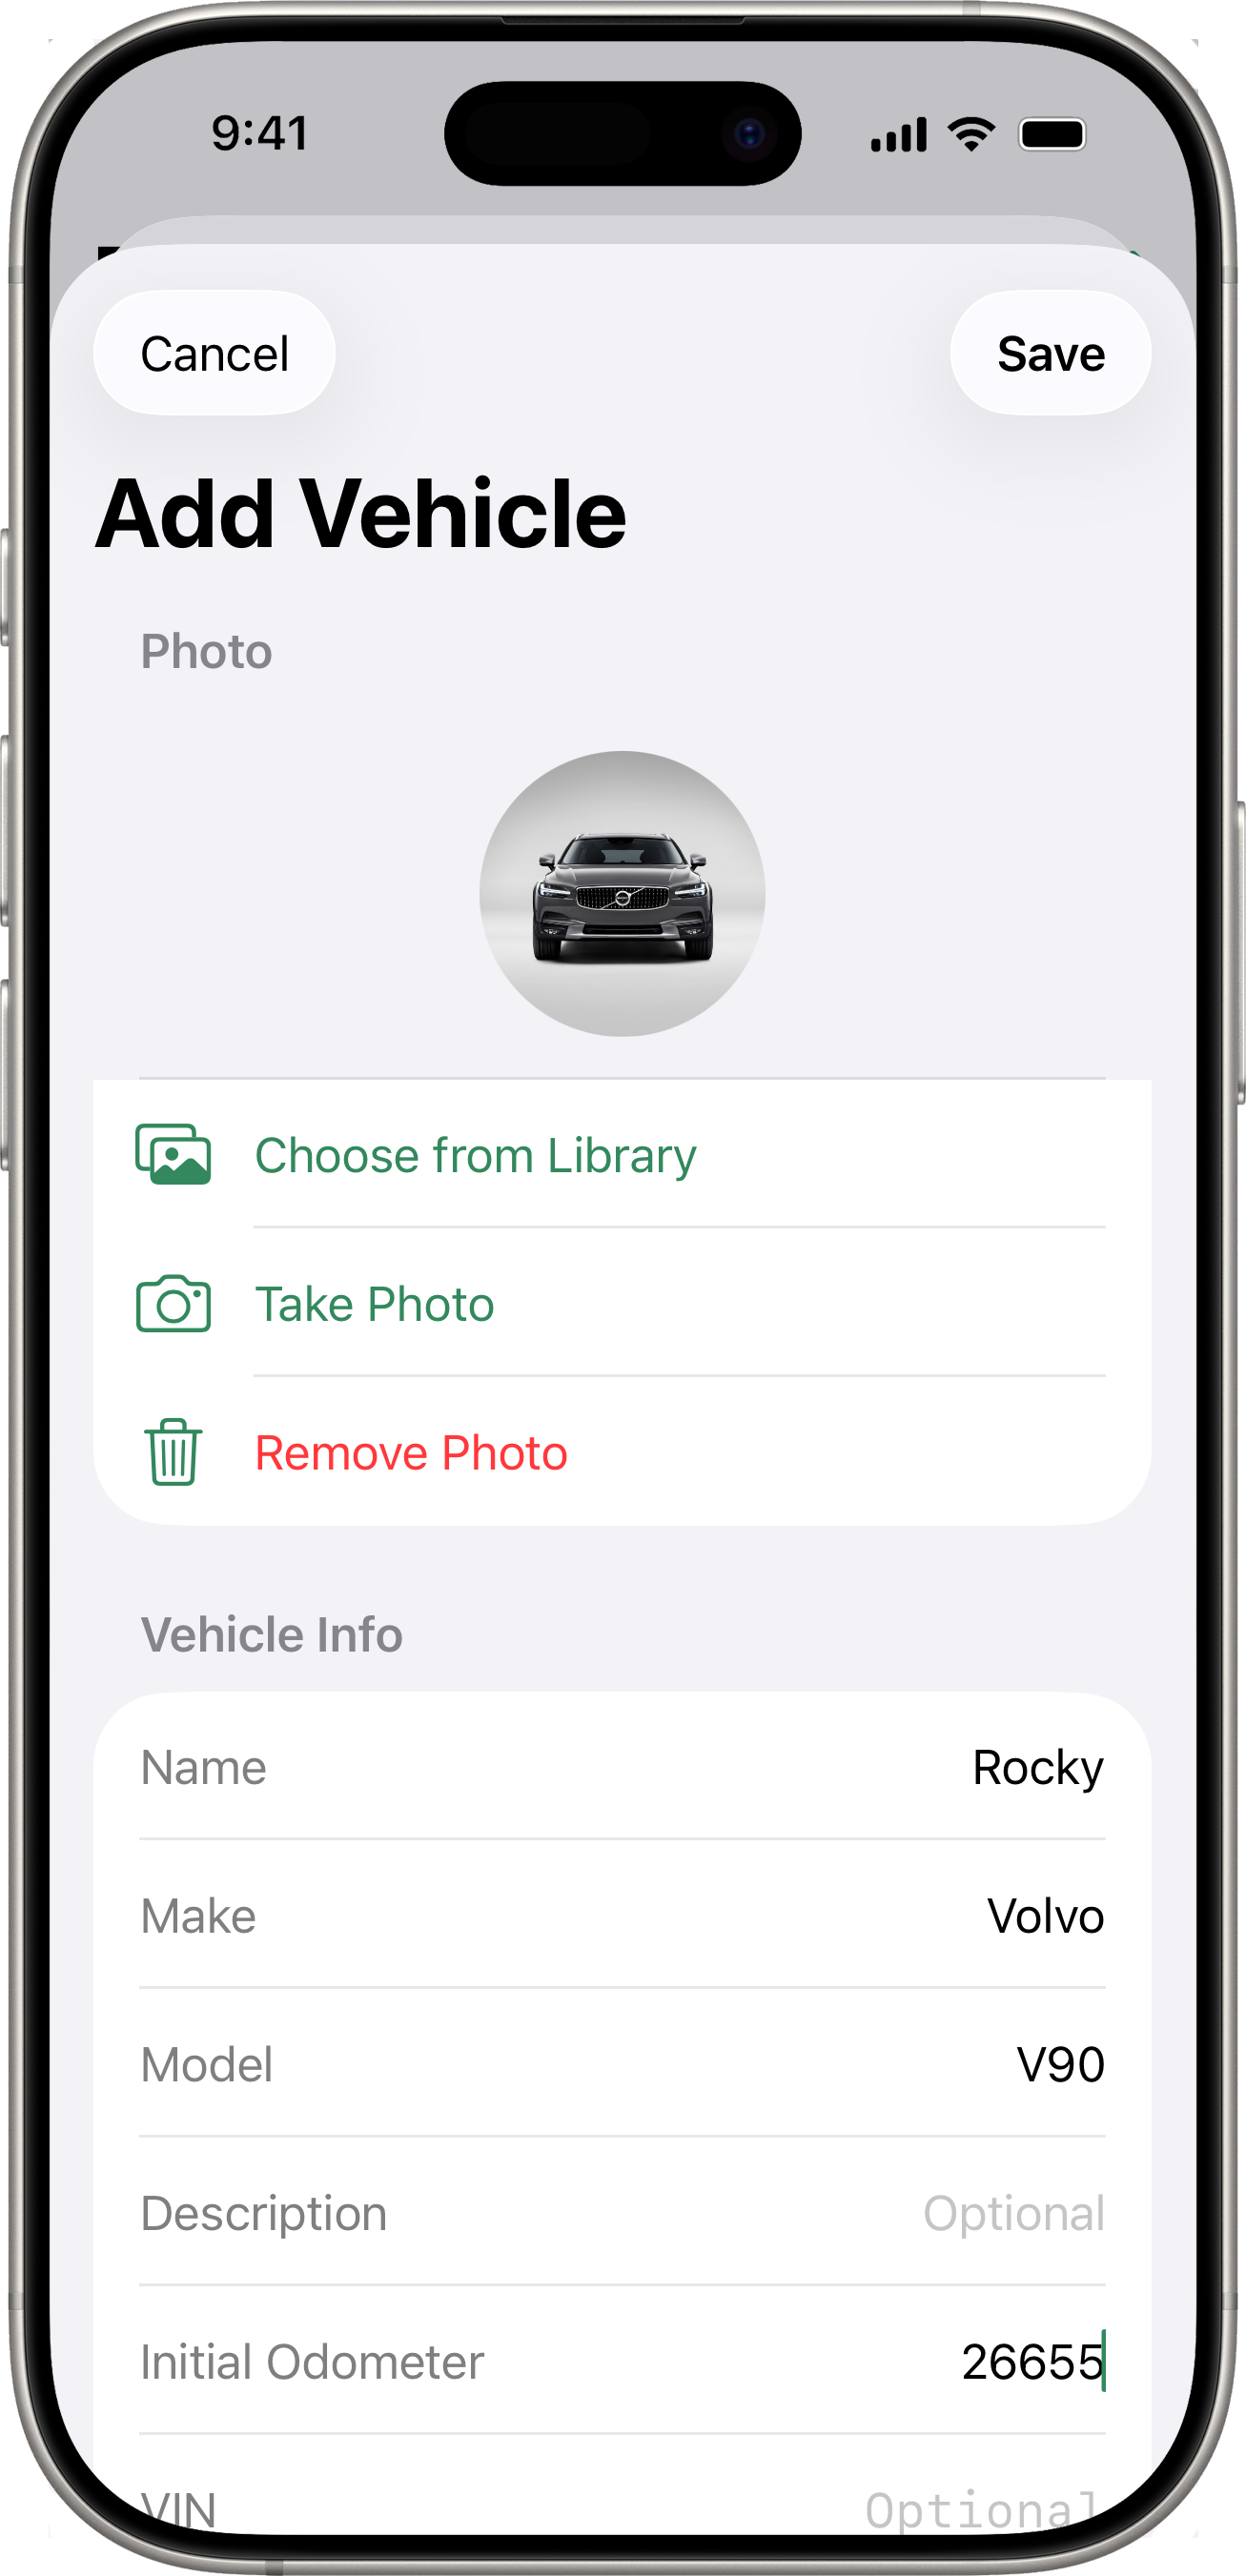
- Tap the + button on the main screen.
- Fill in the vehicle details:
- Name (required) — a label you will recognize, e.g. “My Golf” or “Family Car”.
- Make — the manufacturer (e.g. Volvo, Toyota, BMW). This is optional but required for connected services.
- Model — the specific model (e.g. XC60, Corolla).
- Description — any additional notes about the vehicle.
- VIN — Vehicle Identification Number. Required for connected service integrations.
- License Plate — your registration plate number.
- Initial Odometer — the current odometer reading when you start tracking.
- Photo — tap the photo area to take a picture or choose one from your library.
- Choose your preferred units:
- Distance Unit — kilometers or miles.
- Fuel Type — PB95, PB98, Diesel, LPG, CNG, or EV.
- Fuel Unit — liters, gallons, or kWh (for EV).
- Efficiency Format — L/100km, km/L, MPG (US), or MPG (UK).
- Optionally configure a second fuel tank (e.g. LPG + petrol, or petrol + EV for plug-in hybrids).
- For EV vehicles, optionally set the Battery Capacity (kWh) — this lets the Efficiency screen show kWh/100km instead of km per battery percent.
- Tap Save.
Navigating the App
The app shows two, three, or four tabs at the bottom depending on which fuel types your vehicles use:
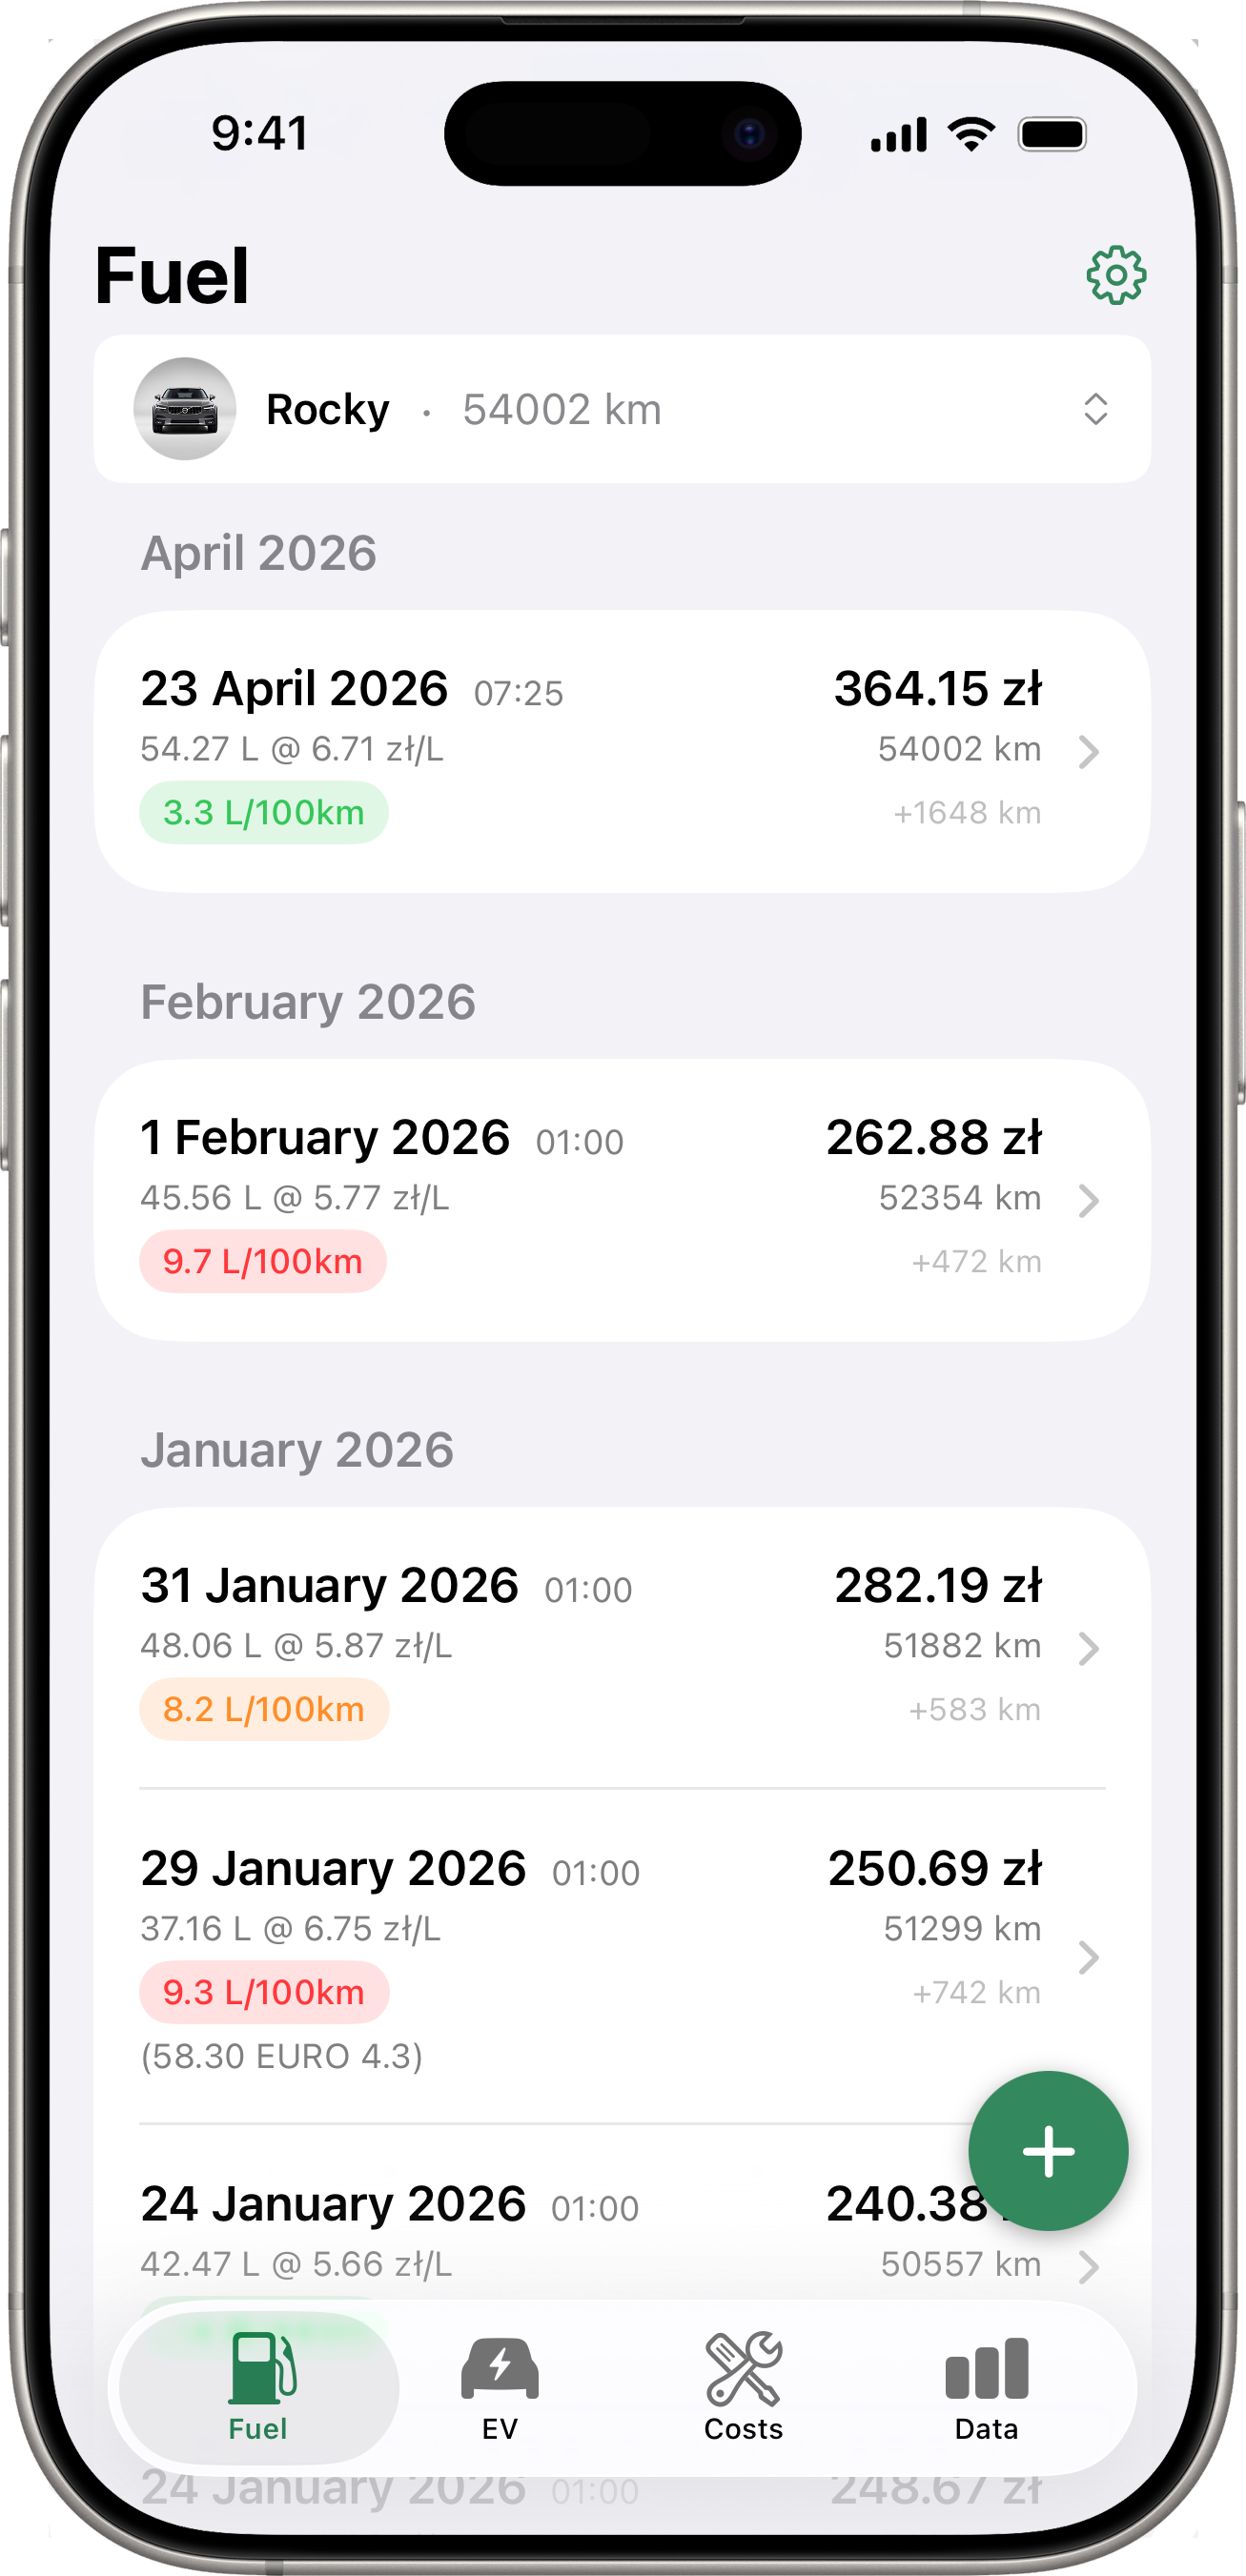
- Fuel — fill-up history and the button to add new fill-ups. Hidden if all your vehicles are pure EV (no combustion tank).
- EV — flat chronological history of charging sessions and electricity bills. Hidden if none of your vehicles have an EV component.
- Costs — your expense records by category.
- Data — Latest Reading card, period stats, charts, map of fill-ups + costs + charging sessions, efficiency breakdown, and the snapshot Readings list. See Data.
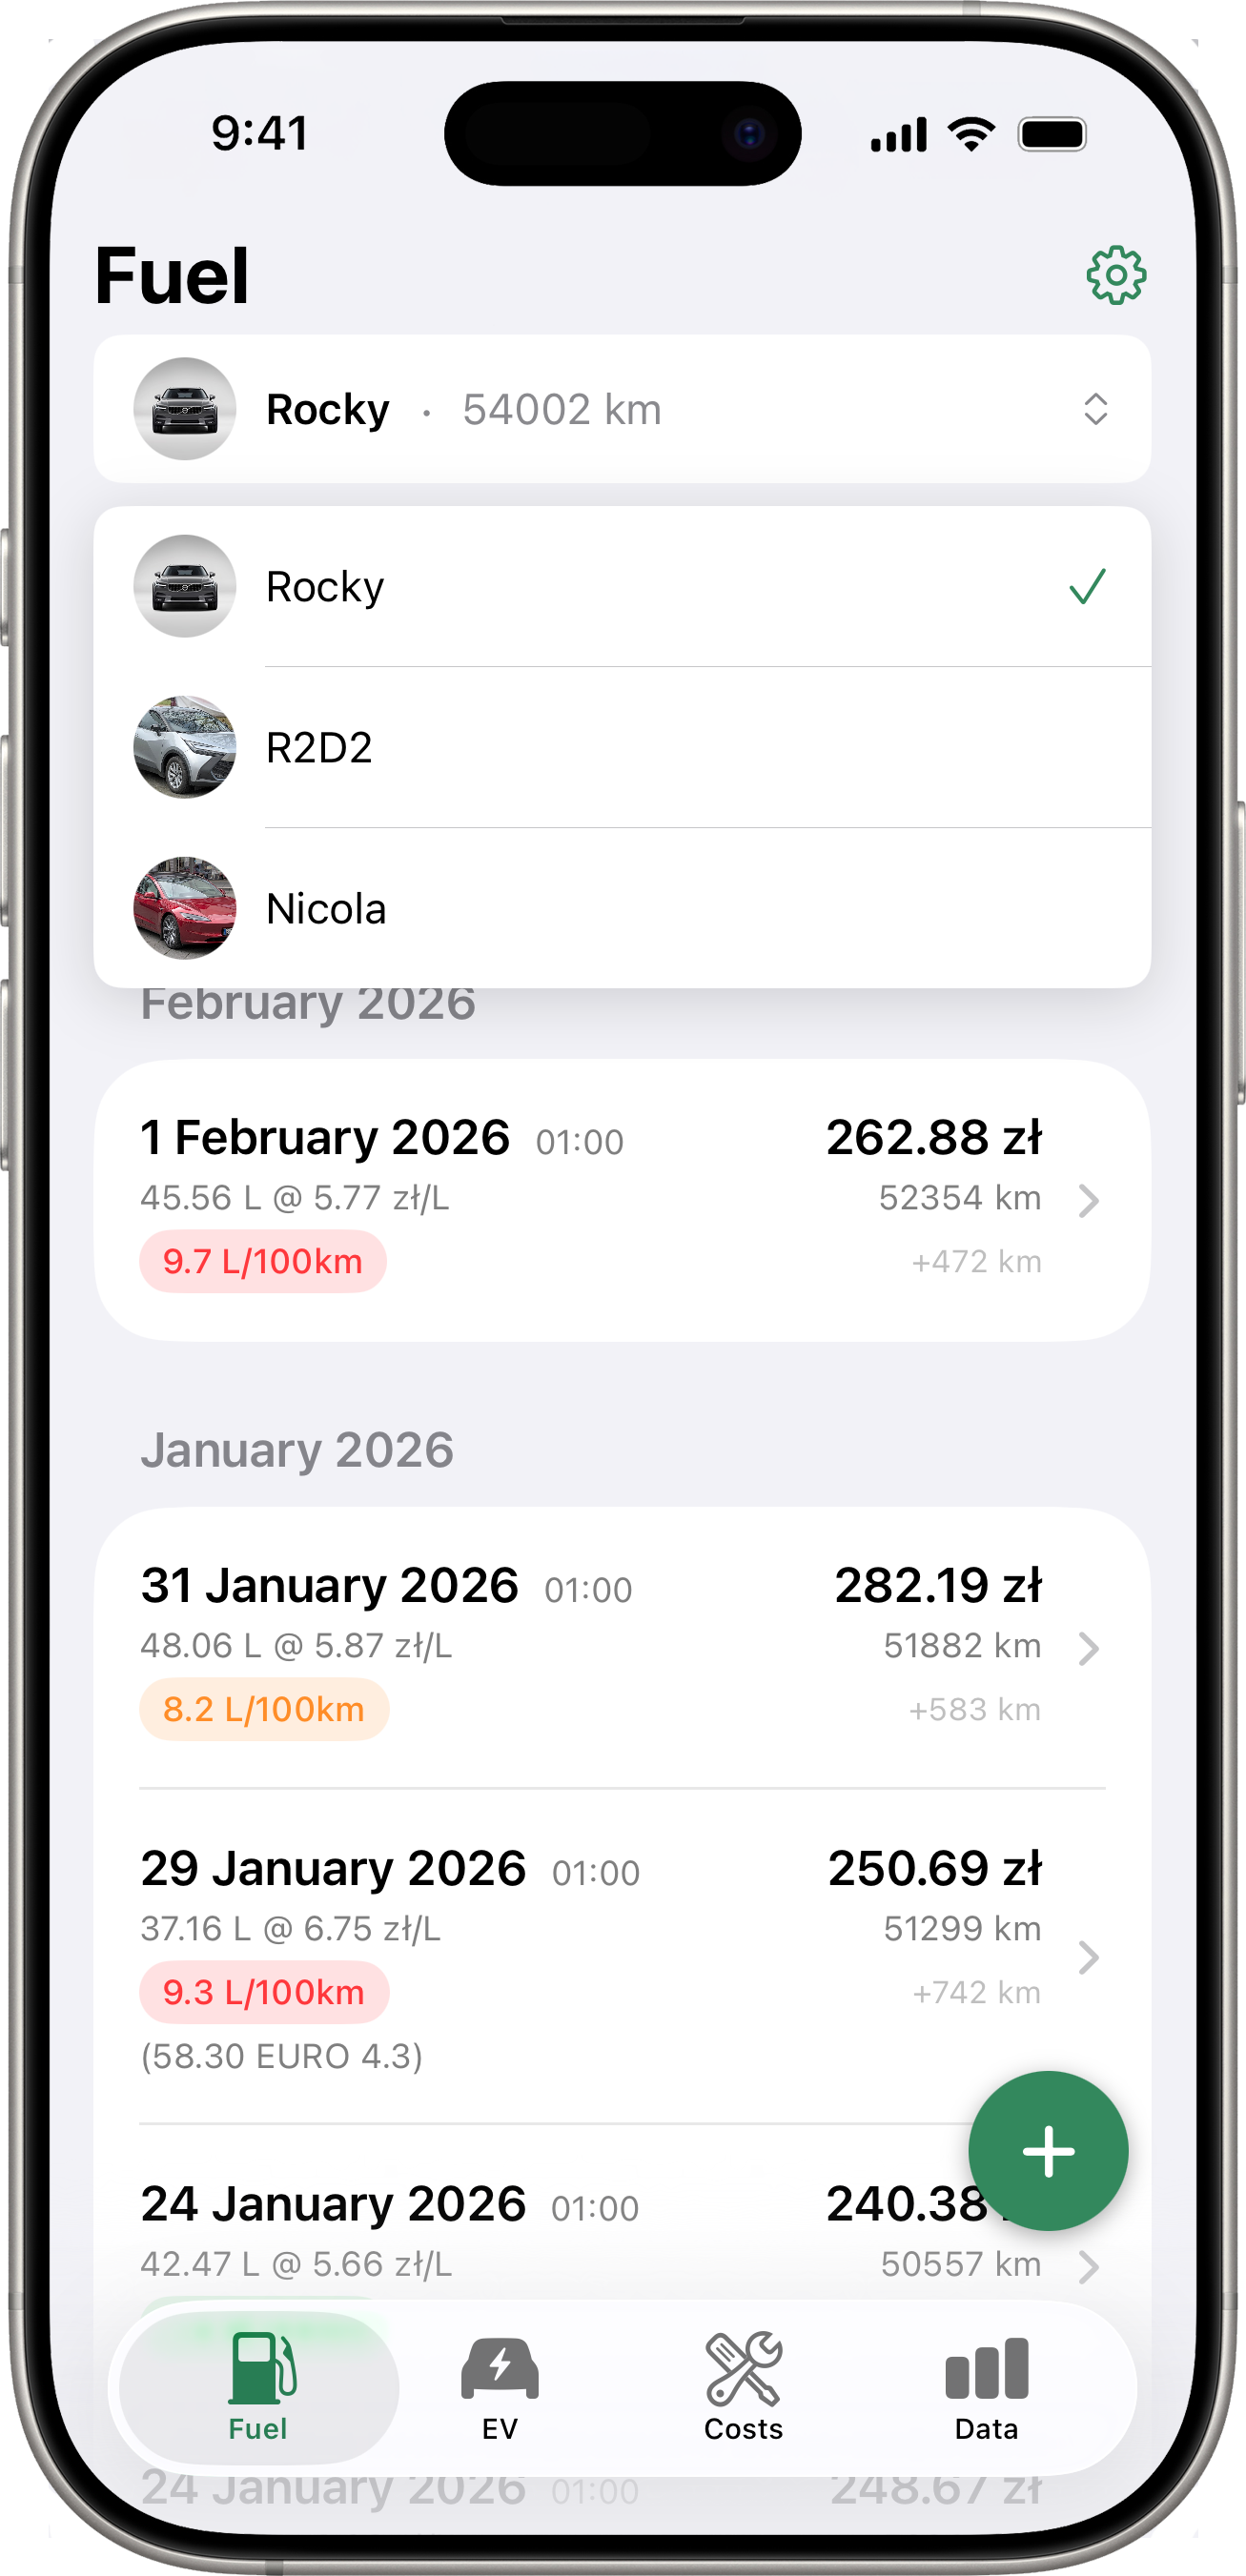
If you have multiple vehicles, use the vehicle picker card at the top of each tab to switch between them.
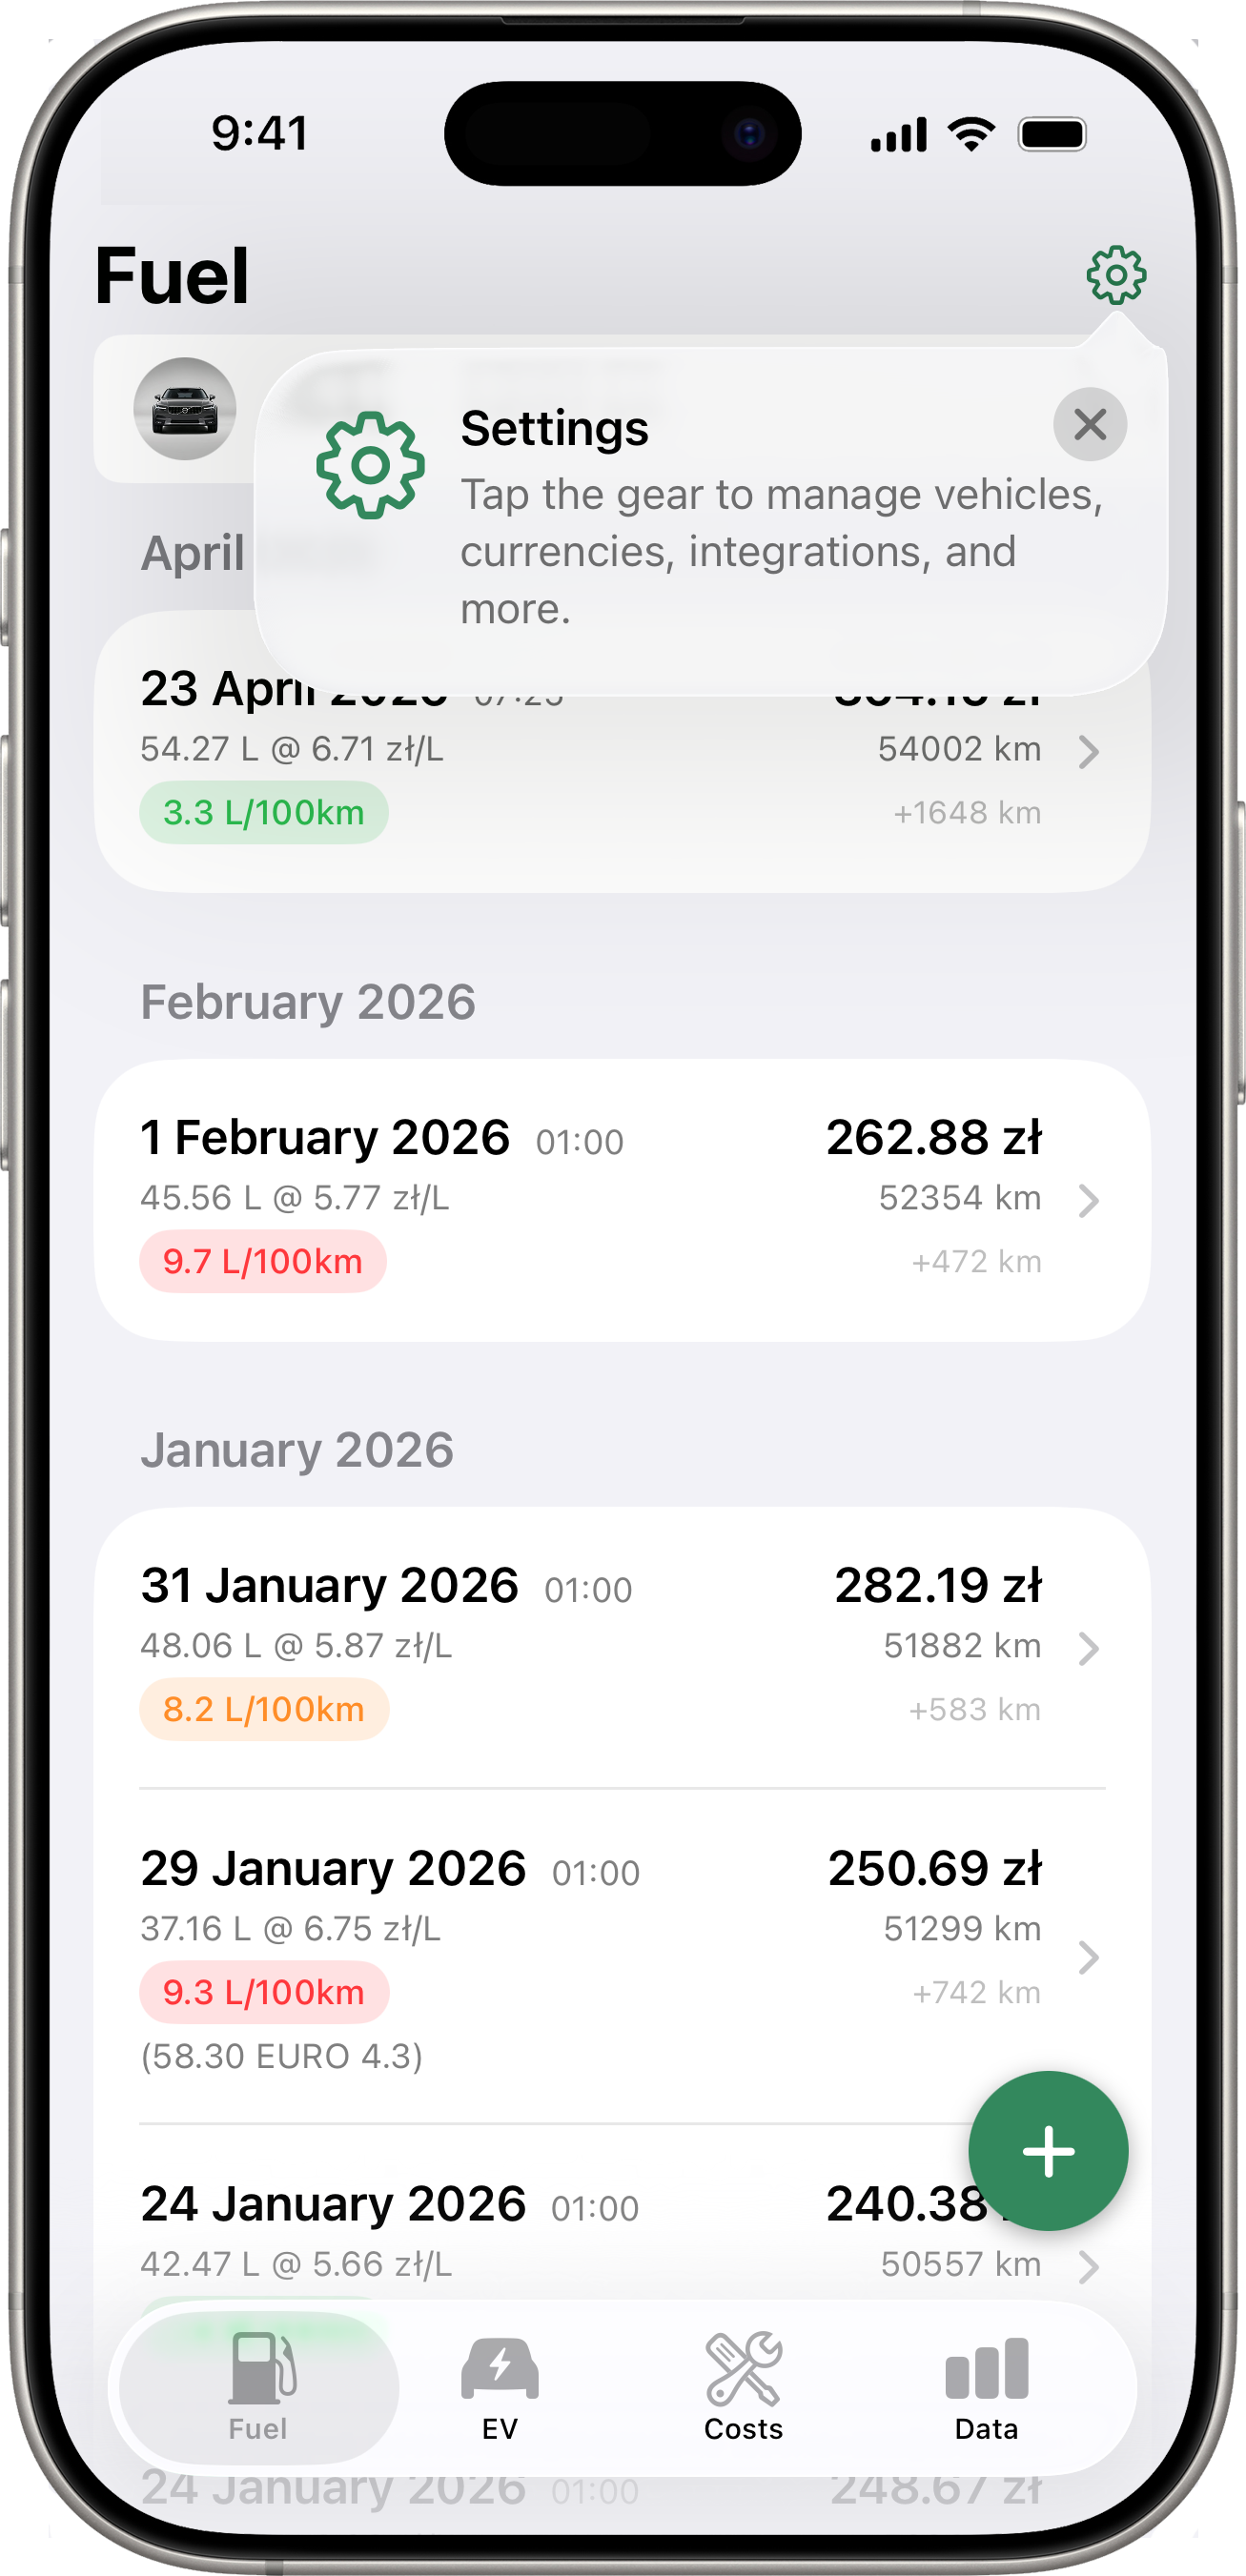
To access Settings, tap the gear icon in the top-right corner of any tab.
Welcome Hints
On first launch Drivest surfaces a handful of contextual coachmarks (popovers) over UI elements with non-obvious gestures:
- Settings gear — “Tap the gear to manage vehicles, currencies, integrations, and more.”
- Currency row in Settings — “Set your default currency and add additional currencies for multi-currency tracking.”
- EV tab + button — “Tap ➕ for a charging session. Long-press ➕ to add an electricity bill.”
- Latest Reading card (on the Data tab, EV vehicles) — “Tap the card for full snapshot details. Long-press to fetch a new reading from the vehicle API.”
- Location row (in Add Fuel / Add EV Session / Add Cost) — “Tap the icon to enable or disable capture. Long-press the row to pick a different spot on the map.”
Each hint dismisses itself the first time you actually perform the gesture it explains. To see them all again, open Settings → Help → Show welcome hints again and restart the app.
Multiple Vehicles
You can track as many vehicles as you need. Add more vehicles from Settings > Manage Vehicles, then use the vehicle picker at the top of each tab to switch between them.